
Install & run
In short
ReelVault is one program on one port. Pick Docker or an installer, open http://localhost:3030, and the setup wizard creates your administrator — no config files, no programming.
ReelVault is one program: the server, the web app and the streaming engine all run from a single process on a single port. Pick one of the paths below — all of them end the same way, at http://localhost:3030, where the setup wizard creates your administrator account.
Which one should I pick?
| If you have… | Use | Why |
|---|---|---|
| A NAS, home server or always-on PC | Docker | One command, easy to update. |
| A Windows PC | Windows installer | Double-click; it sets everything up. |
| A Linux machine | Linux installer | Installs ffmpeg and a service for you. |
| A machine where you cannot install anything | Release archive | Portable folder, no installer. |
| A developer machine, or you want to change the server | Run from source | You build it yourself. |
Not sure? Docker is easiest on a server, the installer is easiest on Windows, and either works everywhere else.
What you need
- A machine to run it on — a home server, NAS, mini PC or an always-on desktop. Anything x86-64 or arm64 works; 4 GB of RAM is enough to start, more helps with conversion.
- Your media, already on disk.
- A browser on any device you want to watch from.
ffmpeg and ffprobe are required for streaming — the installers and images handle them for you.
How much machine do I need?
- A small household (1–2 streams, no conversion) — any mini PC, NAS or Raspberry Pi 4/5 with 4 GB of RAM is enough.
- A few people, occasional conversion — a 4-core x86 mini PC with 8–16 GB of RAM.
- Several streams, or lots of conversion — a machine with a recent Intel CPU (Quick Sync) or an NVIDIA GPU makes conversion cheap.
You can start small and move to bigger hardware later — see Moving to a new machine.
Install it
Pick your platform — the detailed instructions for each follow below.
mkdir reelvault && cd reelvault
curl -fsSL https://raw.githubusercontent.com/ReelVault/reelvault/main/docker-compose.yml -o docker-compose.yml
docker compose up -d# In PowerShell — installs ReelVault and adds a Start Menu shortcut:
irm https://raw.githubusercontent.com/ReelVault/reelvault/main/install/install.ps1 | iexcurl -fsSL https://raw.githubusercontent.com/ReelVault/reelvault/main/install/install.sh | bashUnpack ReelVault-<version>-linux-x64.tar.gz (or the Windows .zip),
then run start.sh / start.bat.Then open http://localhost:3030 and create the administrator account.
Option A — Docker (recommended for servers and NAS)
One container: server, web app and ffmpeg included.
mkdir reelvault && cd reelvault
curl -fsSL https://raw.githubusercontent.com/ReelVault/reelvault/main/docker-compose.yml -o docker-compose.yml
docker compose up -d
Open http://localhost:3030 and create the administrator account. Your data lives in the reelvault-data volume.
To scan your media, uncomment the media volume in docker-compose.yml first:
volumes:
  - reelvault-data:/data
  - /srv/media:/media:ro
Or run the image directly
docker run -d --name reelvault \
  -p 3030:3030 -v reelvault-data:/data \
  ghcr.io/reelvault/server:latest
Option B — Windows installer
In PowerShell:
irm https://raw.githubusercontent.com/ReelVault/reelvault/main/install/install.ps1 | iexIt downloads ReelVault, installs ffmpeg if missing, and creates a ReelVault shortcut in the Start Menu. Open it from there, or go to http://localhost:3030.
To pass options, download the installer first — it always pulls the latest release:
irm https://raw.githubusercontent.com/ReelVault/reelvault/main/install/install.ps1 -OutFile install.ps1
.\install.ps1 -Remote          # reachable from other devices on the LAN
.\install.ps1 -Port 8080       # custom port
.\install.ps1 -Autostart       # start when you sign in
Prefer a double-click? Download install.bat and run it — it calls install.ps1 for you.
Option C — Linux installer
curl -fsSL https://raw.githubusercontent.com/ReelVault/reelvault/main/install/install.sh | bashThe installer installs ffmpeg, downloads the release into ~/.local/share/reelvault, and registers a service that starts with your session. To pass options, download it first:
curl -fsSL -o install.sh https://raw.githubusercontent.com/ReelVault/reelvault/main/install/install.sh
bash install.sh --remote       # reachable from other devices on the LAN
bash install.sh --port 8080    # custom port
bash install.sh --upgrade      # update, keeping your data
bash install.sh --uninstall    # remove again
Option D — release archive (no installer)
Every release ships portable archives — ReelVault-<version>-linux-x64.tar.gz (also arm64) and ReelVault-<version>-windows-x64.zip. They contain everything including the runtime: unpack, run start.sh / start.bat, open http://localhost:3030. All state lives in the unpacked data/ folder — move the folder, move the server.
Connect to it
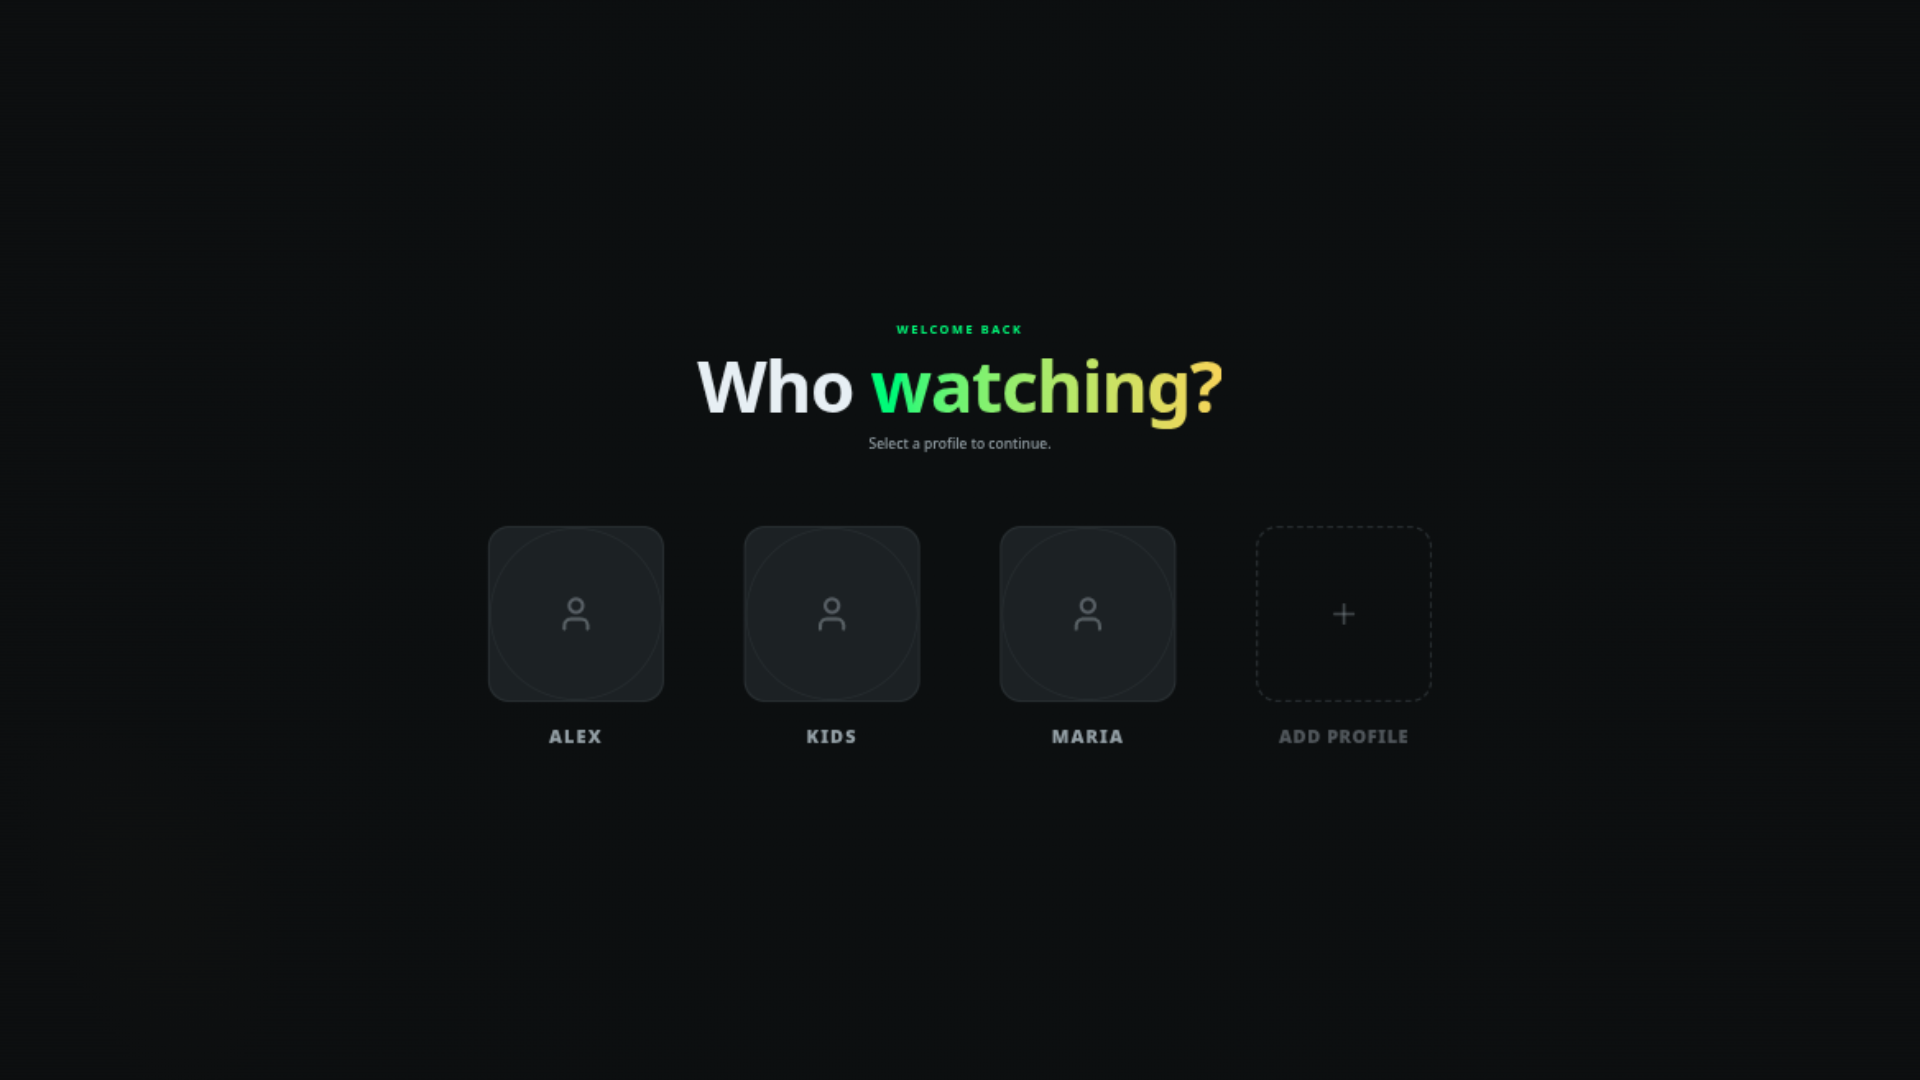
- Browser — open
http://<host>:3030. See Web & desktop clients. - Phone or TV — the same address works on any device on your network; see Web & desktop clients.
- Your own app — use the typed client; see the SDK overview. The server also serves an interactive HTTP API reference at
http://<host>:3030/openapi.
Next steps
- First-run setup — create the administrator and your first profile.
- Adding your media — add your media folders.
- Server configuration — for administrators.